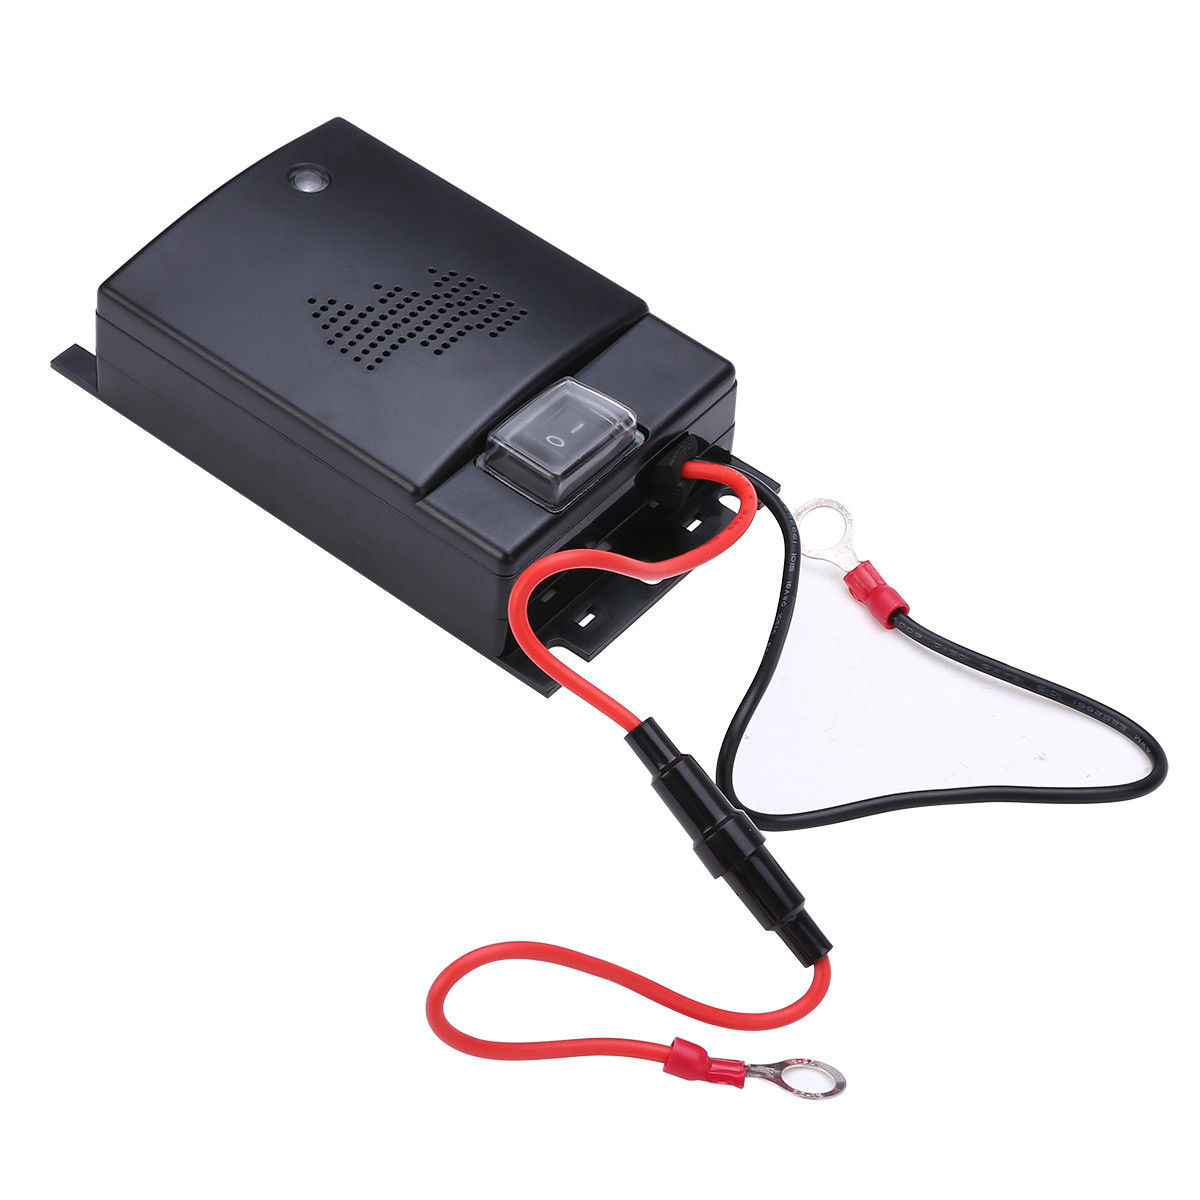
XH-W1320 DC 12/24V Professional Digital Display Incubation Thermostat Egg Hatching Temperature Control with Backup Power Supply

$22.99
  Availability: In Stock
  Shipping: Free Airmail 
  Estimated Delivery: 
   Bulk Savings (Buy more save more)
+
  •   Shipping Methods

    Handling Time

    Before we can ship your order, we prepare your products, do strict quality-control tests and carefully package the items. The time it takes to prepare your items for shipping is separate from the delivery time. It usually takes 1-3 business days to ship out .

    Shipping Methods

    You can choose the preferred shipping method on the cart page during the checkout process. We offers 3 international shipping methods:

    1. Airmail – Free untracked economy shipping via national postal services (HK Post, Singapore Post, China Post, PostNL, Swiss Post, Sweden Post, USPS, Royal Mail e.t.c.)
    2. Airmail Registered – Tracked shipping via national postal services (HK Post, Singapore Post, China Post, PostNL, Swiss Post, Sweden Post, USPS, Royal Mail e.t.c.)
    3. Expedited Shipping – Express shipping with courier delivery (DHL, UPS, FedEx, TNT)

    Delivery Time

    Airmail and Airmail Registered Area Estimated Delivery Time
    United States, Canada 7-25 business days
    Australia, New Zealand, Singapore, United Arab Emirates 10-25 business days
    United Kingdom, France, Spain, Germany, Netherlands, Japan, Belgium, Denmark, Finland, Ireland, Norway, Portugal, Sweden, Switzerland 10-25 business days
    Italy, Brazil, Russia, South Africa 10-45 business days
    Other countries 10-35 business days
    Expedited Shipping 3-10 business days to Worldwide

    Note: If you choose an expedited shipping, please remember to leave a valid contact number, this is required for expedited shipping’s courier delivery.

  •  Returns & Refund

    Last updated October 05, 2022

    Returns

    If you are not completely satisfied with your purchase for any reason, you may return it to us for a full refund within 15 days from delivery date. All returned items must be in new and unused condition, with all original tags and labels attached.

    Return Process

    To return an item, please email our customer service at sales@alexnld.com to obtain a Return Merchandise Authorization (RMA) number. After receiving a RMA number, place the item securely in its original packaging, and mail your return to the following address:

    Alex NLD
    Attn: Returns
    RMA #
    HaGiborim St 8
    Tiberias, 14388
    Israel

    Please note, you will be responsible for the return shipping charges. We strongly recommend that you use a trackable method to mail your return.

    All customers should contact us and obtain Return Merchandise Authorization (RMA) number before sending anything to us. We will not be responsible for returned item(s) without notifying us in advance.

    Refunds

    After receiving your return and inspecting the condition of your item, we will process your refund to the credit / debit card or PayPal account which was used to place the original order.

    Please allow at least seven (7) days from the receipt of your item to process your refund. Refunds may take 1-2 billing cycles to appear on your credit card statement, depending on your credit card company. We will notify you by email when your refund has been processed.

    Exceptions

    If an item is found damaged or defective on receipt, we kindly ask you to contact us within 15 days from the delivery date to arrange a refund or exchange without physical return of the item.

    Please provide us with following:

    1. Photos of the front and back sides of the packaging box;
    2. A photo, video or screenshot of the defective item or the defective part of the parcel.

    Our customer service team will communicate with you to arrange a refund or reshipment without physical return of the item.

    Warranty & Repair service

    If any of the items you have purchased from us is found defective within 1 year from receipt, you are entitled to a repair under warranty. Please kindly provide us with evidence photos or videos of the defective item. After providing such information to our Customer Service team  and the problem is acknowledged, you can send the items back to us for a repair.

    Note:  Please be aware, we do not cover the cost of the returns fees in  warranty & repair service.

    Order Cancellation

    If you want to cancel an order within 24 hours from confirmation of the payment, you will be entitled to a full refund. It is still possible to cancel an order after 24 hours, provided that it has not yet been shipped. If an order has been shipped, it’s impossible for us to cancel or modify it anymore. If you still want a refund, you required to return the item on it’s arrival.

    Questions

    If you have any questions concerning our return policy, please contact us at:

    +972 054-536-2888
    sales@alexnld.com


  Share
Specification:

Product Name: Intelligent incubation temperature controller
Product model: XH-W1320
Temperature measurement range: -30 ~ 110 ℃
Temperature measurement accuracy: ± 0.1 ℃
Temperature control range:  -9.9 ~ 99.9 ℃
Temperature control accuracy: 0.1 ℃
Temperature probe: 1 m probe
Power supply voltage: DC12V/24V
Applicable environment: – 15 ~ 55 ℃ / 20% ~ 85% RH
Output type: 6A Relay direct output
Dimension: 105* 70mm
Embedded size: 85*60mm
Installation hole distance: 95mm
Product weight: 71g

Package included:

1 x Intelligent incubation temperature controller

Instructions for use:

Long press the setting button for 3 seconds to enter the menu P1 P2 P3 P4

P1 hysteresis setting
1. Long press the setting button for more than 3s to display the P1 hysteresis setting
2. Shortly press the set button to display the hysteresis value, the factory value is 0.2℃
(The setting range of hysteresis is 0.1~30℃)
3. Press the heating/decreasing key to adjust the value

P2 temperature calibration
1. Long press the setting key for more than 3 seconds to display P1, press the heating/decreasing key to switch to P2 temperature calibration
2. Shortly press the SET button to display the calibration value, the factory value 0.0℃ (calibration range-9.9~9.9℃)
3. Press the heating/decreasing key to adjust the value

P3 delay start
1. Long press the setting button for more than 3s to display P1, press the heating/decreasing button to switch to P3 delayed start
2. Shortly press the setting button to display the delayed start value, the factory value is 0 (setting range 0~10 minutes)
3. Press the heating key to adjust the value
4. After the setting is completed, the thermostat will delay after reaching the starting temperature, and then start again according to the set time

P4 high temperature warning
1. Long press the setting key for more than 3 seconds to display P1, and press the heating/decreasing key to switch to P4 high temperature alarm
2. Shortly press the setter key again to display ON (function on)/OFF (function off).
3. Press the heating/decreasing key to adjust to ON, shortly press the setter key again to display the high temperature alarm value (factory value 110℃)
4. Press the heating/decreasing key to adjust the high temperature alarm value
5. After the setting is completed, the thermostat will emit an alarm sound when the temperature reaches the alarm value

I want to control the hatching temperature of chickens at 37.5~38℃, how to set it?
1. Set the stop temperature: short press the set button and the screen number flashes, press the heating/decreasing button to adjust the value to 38℃
2. Set the hysteresis: long press the setting key for more than 3s, the screen displays P1, then short press the setting key. The displayed value is the current hysteresis value, and the difference between 37.5-38℃ is 0.5℃. Press the heating/decreasing key to adjust the value to 0.5

3. After the setting is completed, the thermostat will start the heating equipment at 37.5°C for heating, and stop when the temperature rises to 38°C, and it will continue to cycle.

I actually measured a temperature of 37.8℃, and the thermostat showed 37.6℃, how to calibrate it?
1. Enter the P2 temperature calibration menu: press and hold the setting key for more than 3 seconds to display P1, and then press the heating/cooling key to switch to P2 (temperature calibration)
2. Short press the setting key again to display the current calibration value. The display temperature of 37.6℃ is 0.2℃ lower than the measured temperature of 37.8℃. Press the heating/decreasing key to adjust the value to 0.2℃ to complete the setting.

Reviews

There are no reviews yet.


Be the first to review “XH-W1320 DC 12/24V Professional Digital Display Incubation Thermostat Egg Hatching Temperature Control with Backup Power Supply”

Your email address will not be published. Required fields are marked *


Q & A

There are no questions yet

Ask a question

Your question will be answered by a store representative or other customers.

This site is protected by reCAPTCHA and the Google Privacy Policy and Terms of Service apply.

Thank you for the question!

Your question has been received and will be answered soon. Please do not submit the same question again.

Error

Warning

An error occurred when saving your question. Please report it to the website administrator. Additional information:

Add an answer

This site is protected by reCAPTCHA and the Google Privacy Policy and Terms of Service apply.

Thank you for the answer!

Your answer has been received and will be published soon. Please do not submit the same answer again.

Error

Warning

An error occurred when saving your answer. Please report it to the website administrator. Additional information:

Product ID: 11383214 Category:
Close My Cart
Close Wishlist
Close

Close
Navigation
Categories